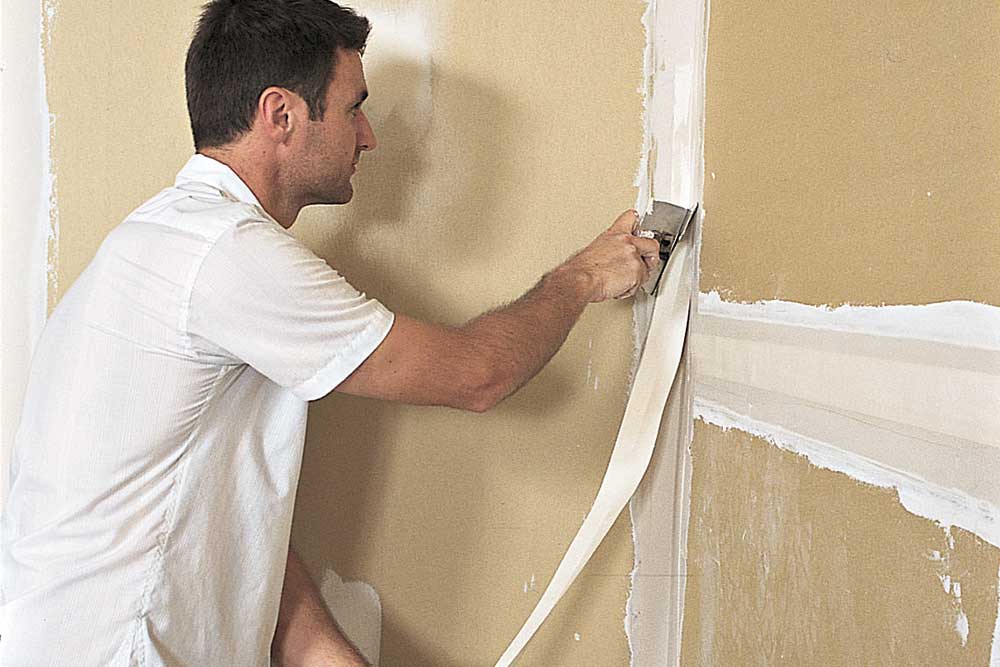
Put down masking tape before nailing into plaster walls

Put Down Masking Tape Before Nailing into Plaster Walls
When it comes to hanging things on your walls, especially on delicate plaster walls, it’s essential to take the necessary precautions to prevent damage. One handy hack that can save you from plaster woes is putting down masking tape before nailing into the wall. This simple technique can make a world of difference and provide a secure and stable surface for your nails or screws.

Plaster walls, although durable, can be prone to cracking or crumbling under pressure, making them more challenging to hang things on compared to drywall or concrete walls. Therefore, using masking tape acts as a protective barrier and reinforces the area where you intend to insert nails or screws. The tape helps distribute the force and prevents the plaster from chipping or breaking.
To begin, gather the necessary materials: masking tape, a pencil, and the item or items you want to hang, such as frames, shelves, or decorative pieces. Here’s a step-by-step guide on how to use masking tape effectively when nailing into plaster walls:
Choose the Hanging Spot: Determine the ideal location for your item on the wall, considering factors such as height, visibility, and balance. Mark the spot lightly with a pencil.
Prepare the Wall: Clean the wall surface near the marked spot using a dry cloth or a mild detergent solution. Ensure the area is free from dust, dirt, or any residues that may affect the adhesion of the masking tape.
Apply the Masking Tape: Cut a piece of masking tape slightly longer than the expected length of the nail or screw you will be using. Position the tape horizontally, aligning the edge with the marked spot on the wall. Press down firmly to ensure a secure attachment, smoothing out any air bubbles or wrinkles along the way.
Mark Through the Tape: Locate the point, specific to your hanging item, where the nail or screw needs to be positioned. Use a pencil to mark the desired spot right on top of the masking tape.
Nail into the Plaster: Hold your nail or screw in place over the marked spot on the masking tape, ensuring it is straight and perpendicular to the wall. Gently tap the nail or screw into the plaster using a hammer or screwdriver until it feels secure. If using a screw, you may want to pre-drill a small hole to make the process easier.
Remove the Tape: Once the nail or screw is securely in place, carefully peel off the masking tape. Hold the tape close to the wall while pulling it away to minimize any potential damage to the plaster.

With the masking tape technique, you’ll likely experience minimal plaster damage while achieving a stable and secure attachment for your hanging items. Remember, this hack is not limited to nails or screws; it can also be invaluable when using adhesive hooks or other hanging systems.
By introducing this protective layer, you can have peace of mind, knowing that your plaster walls are safeguarded during the hanging process. So go ahead and confidently display your favorite artwork, family photos, or functional shelves without worrying about unsightly cracks or crumbling plaster.
Sources:
Tags
Share
Related Posts
Quick Links
Legal Stuff

